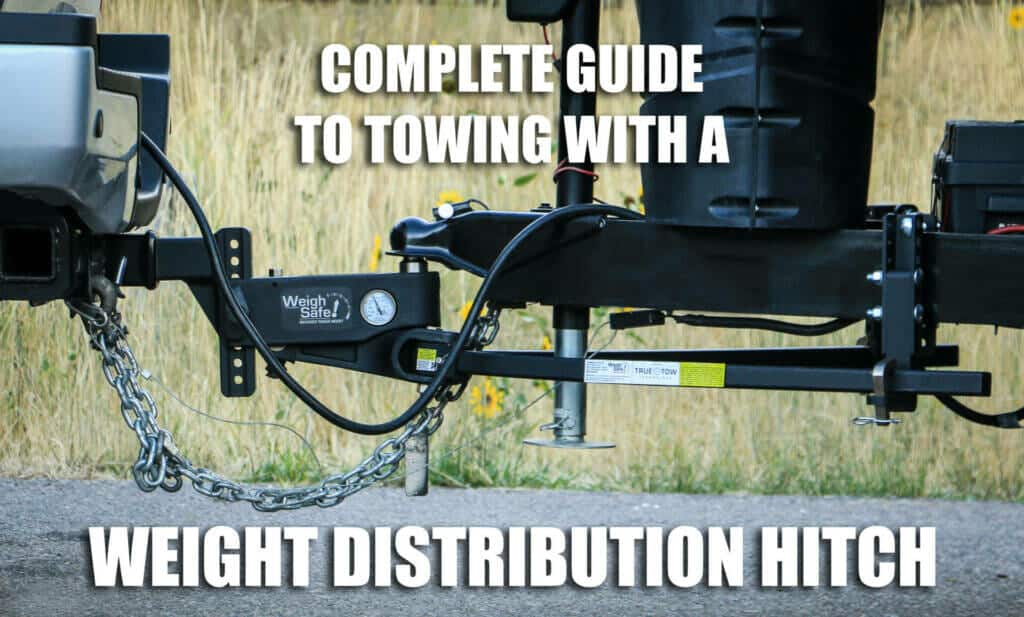
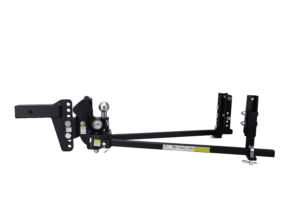
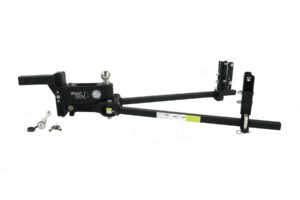
Your truck’s basic receiver hitch may have the capacity required to tow around 8,000 lbs, but that doesn’t mean it will be able to deliver the kind of sway control and driving safety you’ll need when towing more than 5,000 lbs. This is where a weight distribution hitch comes in – and we want to help people understand just how important (and easy!) it is to truly, and precisely, distribute the weight of your trailer’s heavier load for a smoother and safer towing experience. Those who tow within their load’s target tongue weight have a huge safety advantage that is hard to overstate, and we wanted to provide a complete guide for proper tongue weight distribution. If towing safely is important to your business or lifestyle then this guide is for you. Let’s begin.
What is a Weight Distribution Hitch?
When you have too much tongue weight resting on the center of your hitch, it will sink down or dive. This is often referred to as a ‘squatting hitch’. When this happens, too much weight is removed from the front axle of your truck – and as a result, your truck’s braking force and traction will be reduced, making it harder for you to steer and drive straight on the road. 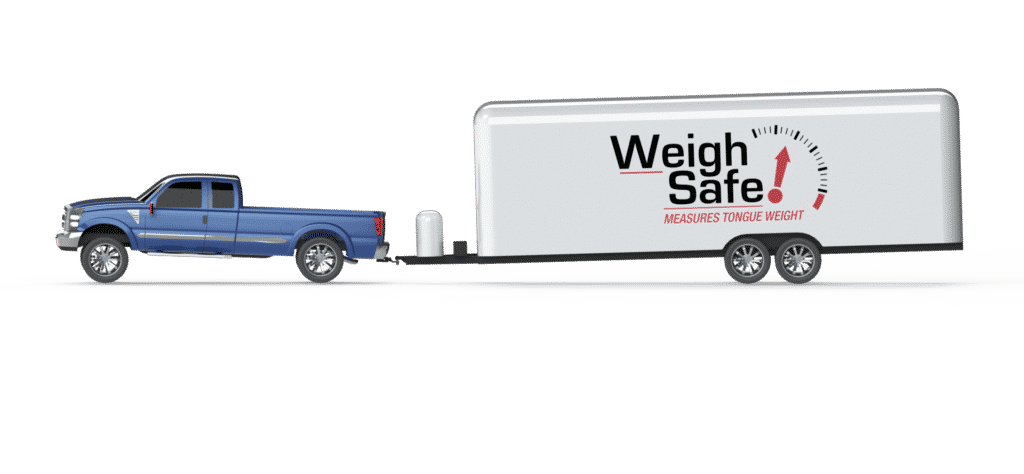 A weight distribution hitch solves this issue. It uses adjustable spring bars and tension to level things out. It distributes the excess tongue weight forward (to the back axle of your truck), and reward (to the axles of your trailer). In turn, the lost weight from your truck’s front axle is restored, and so is your driving control and safety. Check out this video to see how it works!
 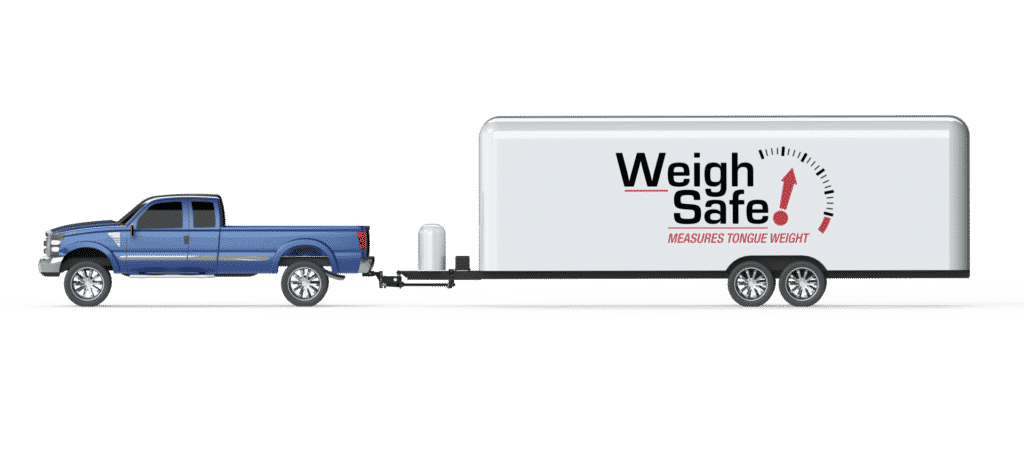 Safe and proper weight distribution involves understanding and calculating your target tongue weight. What is my target tongue weight? What is my gross trailer weight (GTW)? What are trailer brackets? How do you install spring arms? Let’s start at the beginning…
Do You Need a Weight Distribution Hitch?
Your truck’s owner’s manual should provide you with specifications regarding weight distribution use. For instance, the 2018 Chevy Traverse owner’s manual states that weight distribution and sway control are required when towing a trailer over 5,000 lbs. Most commonly, this applies to heavier cargo trailers such as campers and toy haulers. 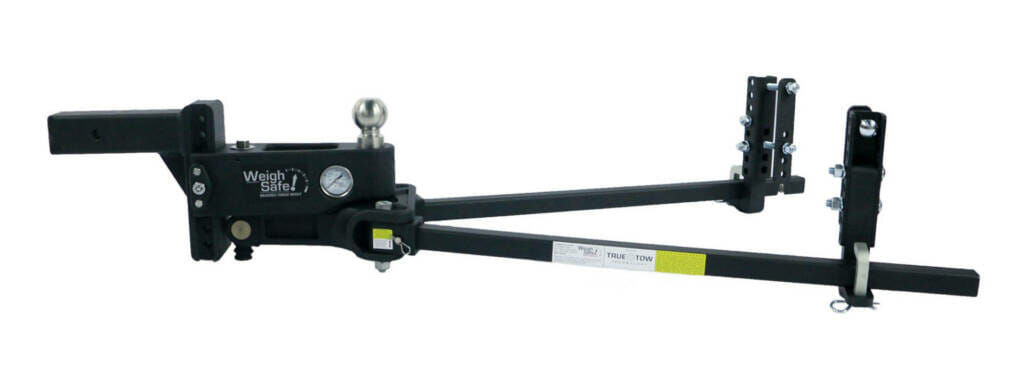 You can also use this checklist to determine if you need a weight distribution hitch:
Indicators You Need A Weight Distribution Hitch:
- Your trailer weight (GTW) is more than 50% of your truck’s weight (GVWR)
- The rear of your truck sags when the trailer is hooked up
- You experience trailer sway
- Your truck’s headlights point upward
- You find it difficult to steer or stop
- You want to tow at your truck and trailer’s highest capacity
Are You Ready to Install A Weight Distribution Hitch?
It is important to know that while a weight distribution hitch redistributes weight and balances your load, it does NOT increase the total amount of weight that your truck and trailer can handle. You should never exceed the capacity of your lowest-rated towing component. So, before purchasing and installing a weight distribution hitch, ensure that you are abiding by the towing capacities of your truck, trailer and hitch components. If you need to review how to calculate your exact towing capacity, use the formulas we’ve outlined in our Definitive Guide to Safe Towing.
Leveling Out Your Load Has Never Been Easier or More Accurate
Installing your weight distribution hitch involves leveling the trailer, measuring your truck and trailer height, mounting the hitch head, and adjusting the drop length, spring arms and trailer brackets. 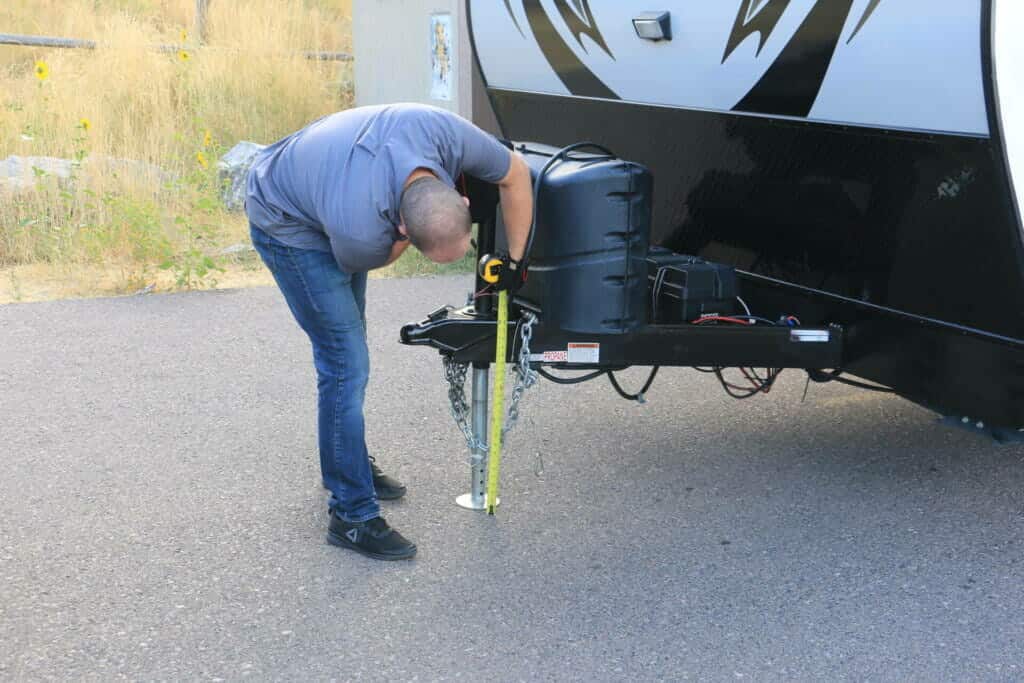 And, most significantly, it involves calculating and verifying the exactness of the weight distribution so that your hitch can truly deliver:
- Even weight distribution (Up-and-down motion)
- Anti-sway stability (Side-to-side motion)
- Increased trailer tow capacity
- Better driving control and stability
- Less wear on your truck and trailer
- Safer braking and steering
Redefining Weight Distribution with TRUE TOW
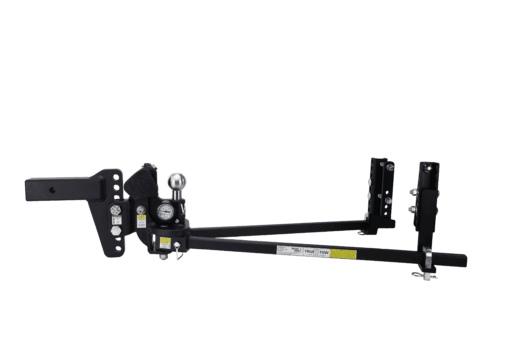
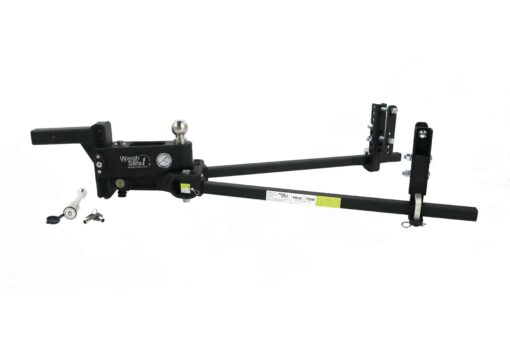
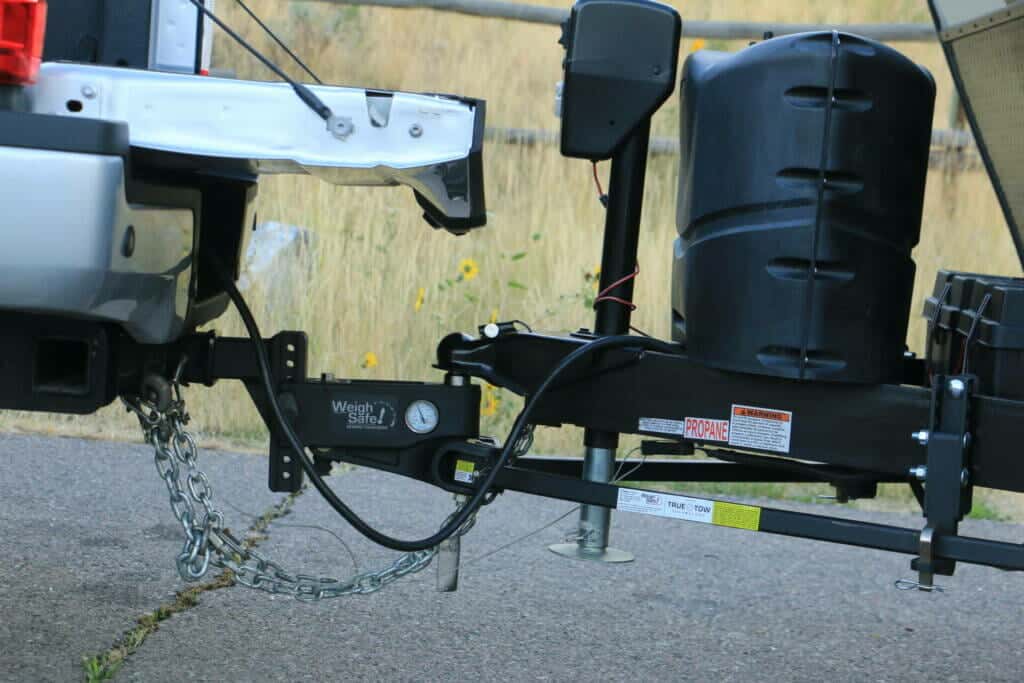
TRUE TOW™ is the first ever weight distribution hitch system that can truly distribute your load with ease, featuring an innovative design that levels out your truck-trailer combination, while actively keeping your trailer from swaying. 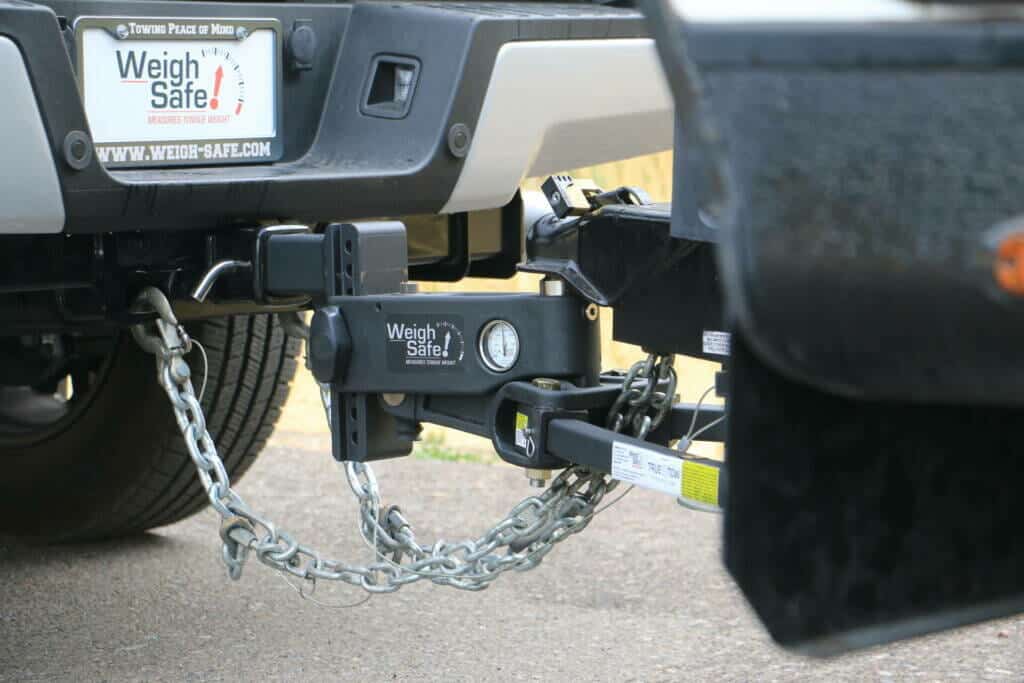
What makes it so easy and accurate?
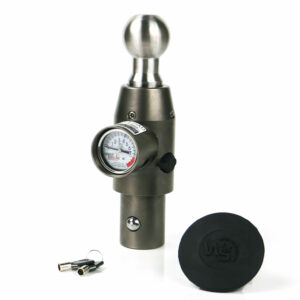
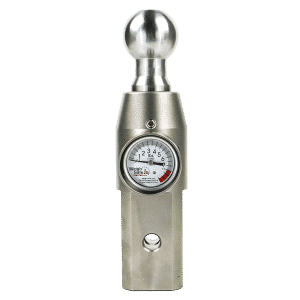
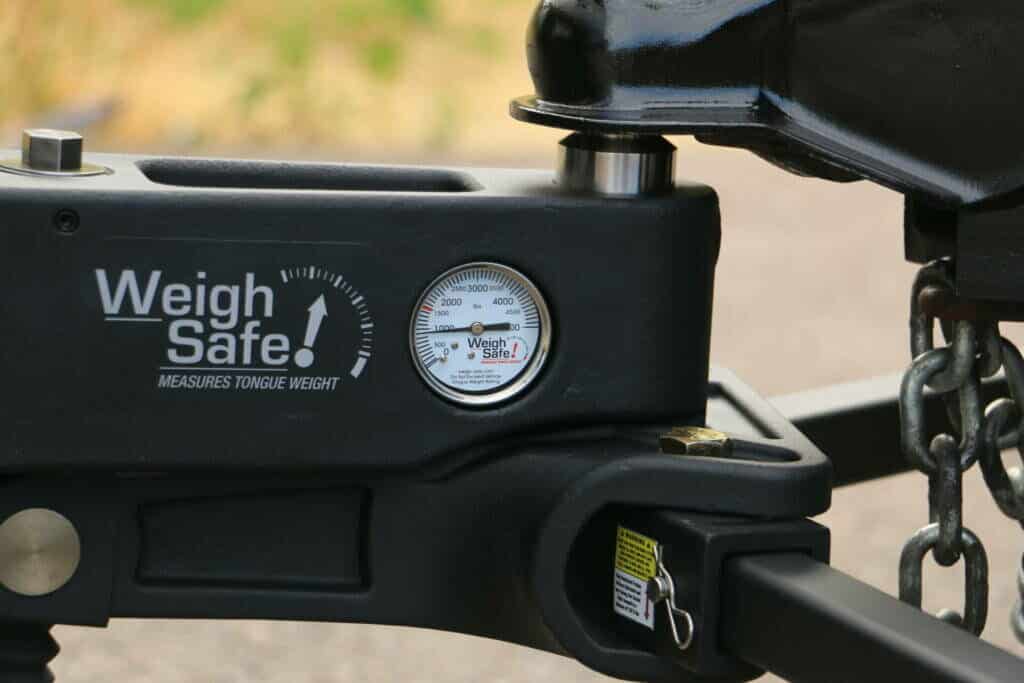
- measures tongue weight (TW) and distributed tongue weight (DTW) to ensure you’ve set up your distributed system with exactness
- eliminates the need to remove the head assembly for re-adjustment – resulting in a much easier and quicker installation, every time you adjust
- features drawbars with 1” hole increments to provide more accurate height adjustment (compared to competitors with 1.75” hole increments)
- generally gives you the ability to lower your tailgate (or open your liftgate) without the trailer tongue/jack interfering
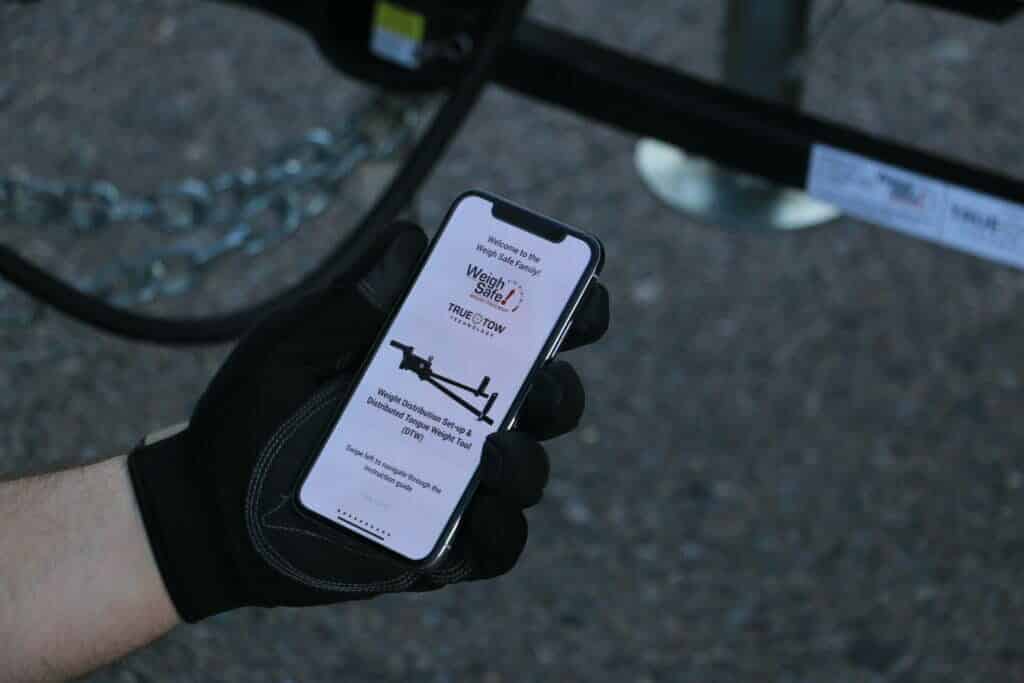
- calculates your required DTW. Access the DTW Tool on our website or on the Weight Safe App right from your smartphone.
 CONVERTS INTO ADJUSTABLE BALL MOUNT:
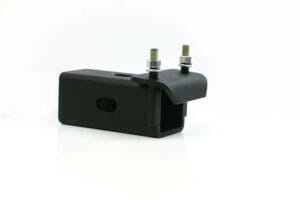
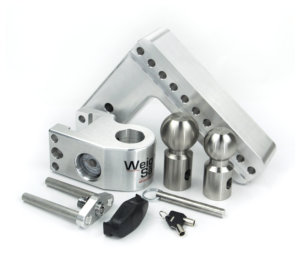
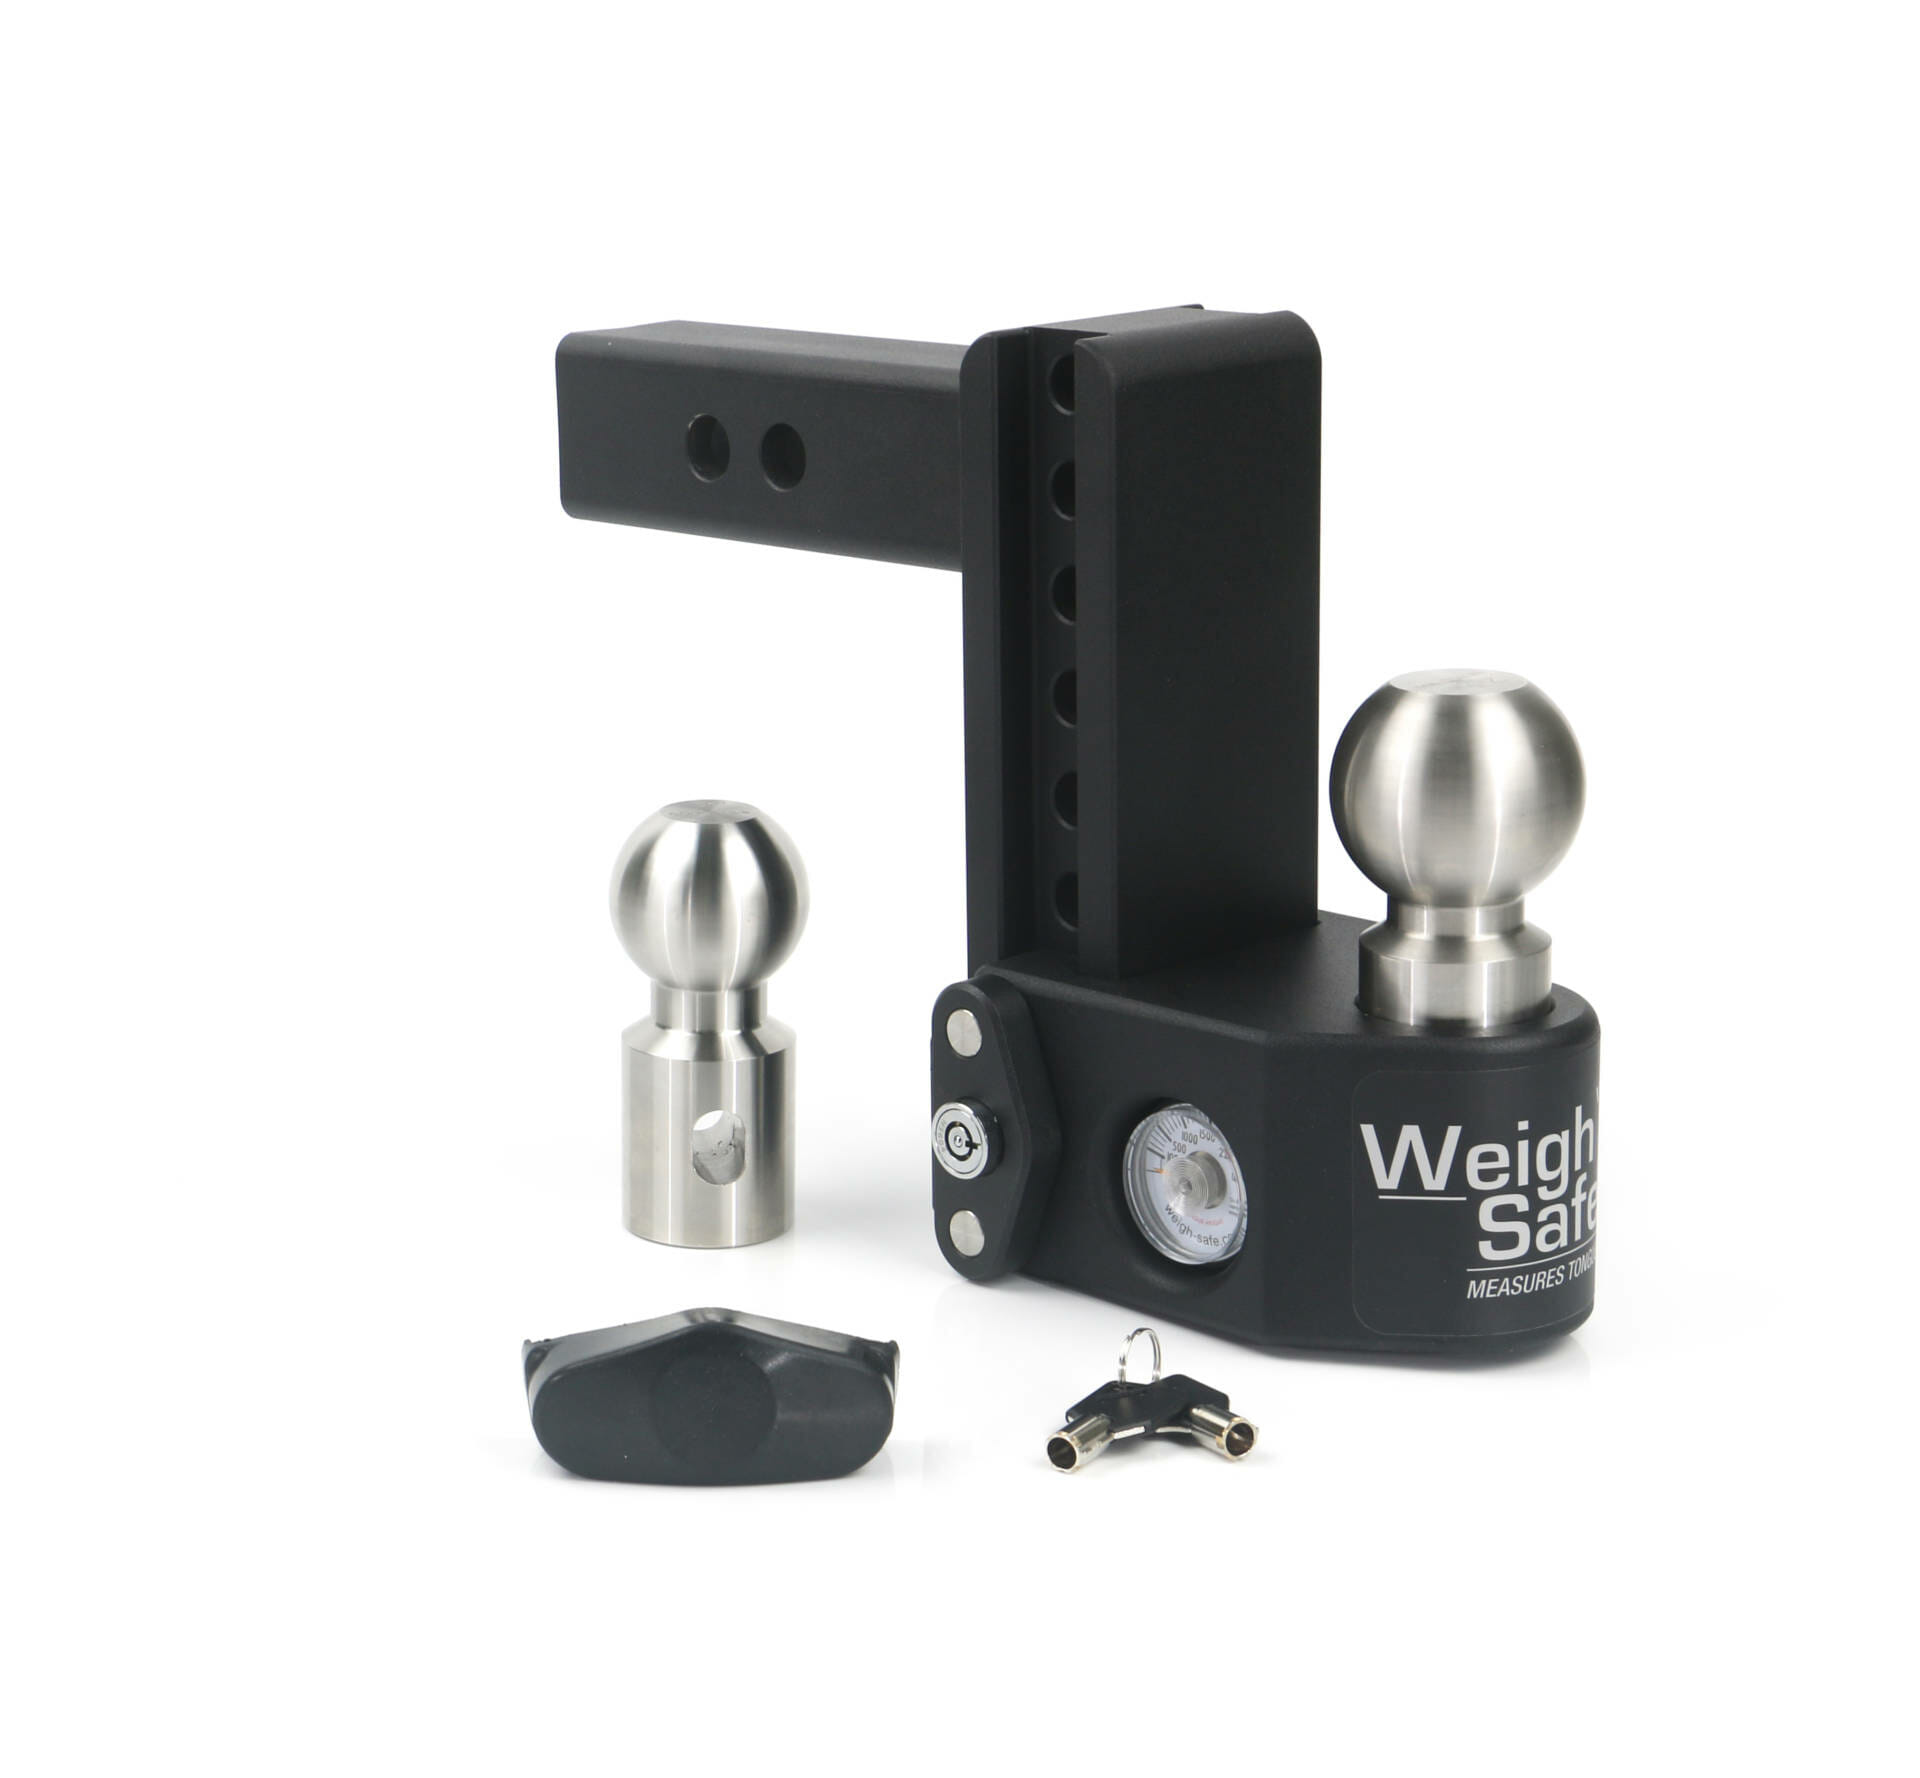
- converts into a basic adjustable ball mount. Just add a steel slider and a steel ball retaining pin and you’ll have a two-in-one hitch that covers even more towing needs and applications.
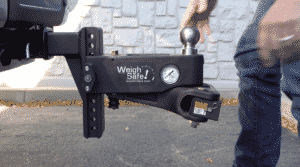
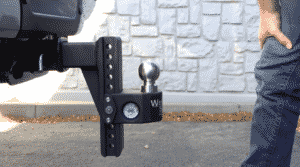
9 Steps to Installing and Adjusting Your True Tow Weight Distribution Hitch
Step #1: Download the WeighSafe App
- The WeighSafe App is a step-by-step guide – right at your side – to use every time you set up your weight distribution hitch. Use it as a checklist, to ensure that you are completing every step and making the proper adjustments for each separate tow.


Step #2: Check to Make Sure You’re Ready For Set-up and Use
- Read the weight distribution hitch manual to be sure you are following all safety warnings and have all the correct tools and parts necessary for assembly.
- Park your truck and trailer on a flat, level ground in-line with each other.
Step #3: Install the Tow Ball
- Insert the correctly sized Weigh Safe Tow Ball into the designated hole inside of the hitch Head Assembly.
- With the Tow Ball inserted, use the provided Shoulder Ball Pin and Lock Washer, and tighten the Hex Wrench until the bolt is completely tight and is sub flush with the face of the Head Assembly. Torque to 30 ft-lb. Check out this video to see how easy it is to swap out the tow balls.
Step #4: Adjust the Head
- Level the trailer to be parallel to the ground. This can be done by using a level, or by measuring the front and back of the trailer frame to the ground. Make sure both the front and the back measurements are the same.
- Now that your trailer is level, measure from the ground to the top of the trailer coupler. With this measurement, insert the correctly sized Draw Bar into the receiver of your truck. Depending on what the height of your trailer coupler is, the Draw Bar may need to be in the rise or drop position. Generally, the ball height should be 1 to 2 inches above the coupler height.
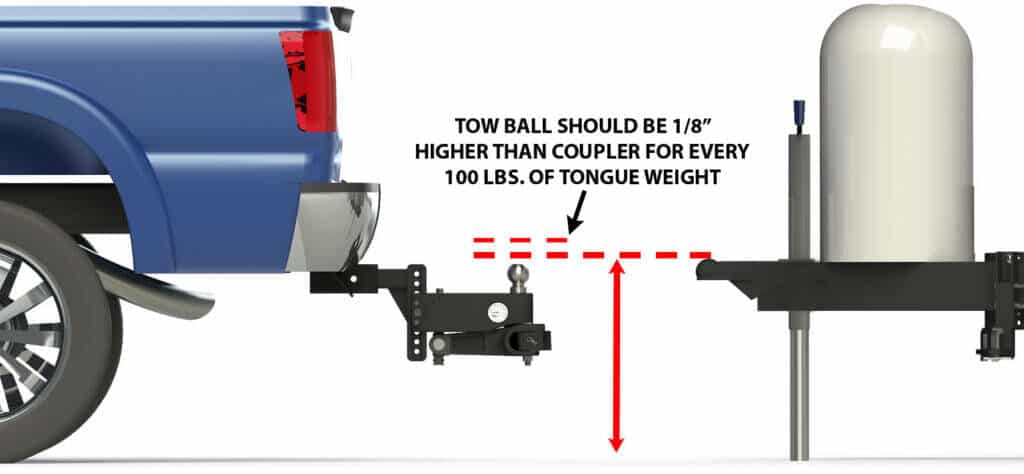
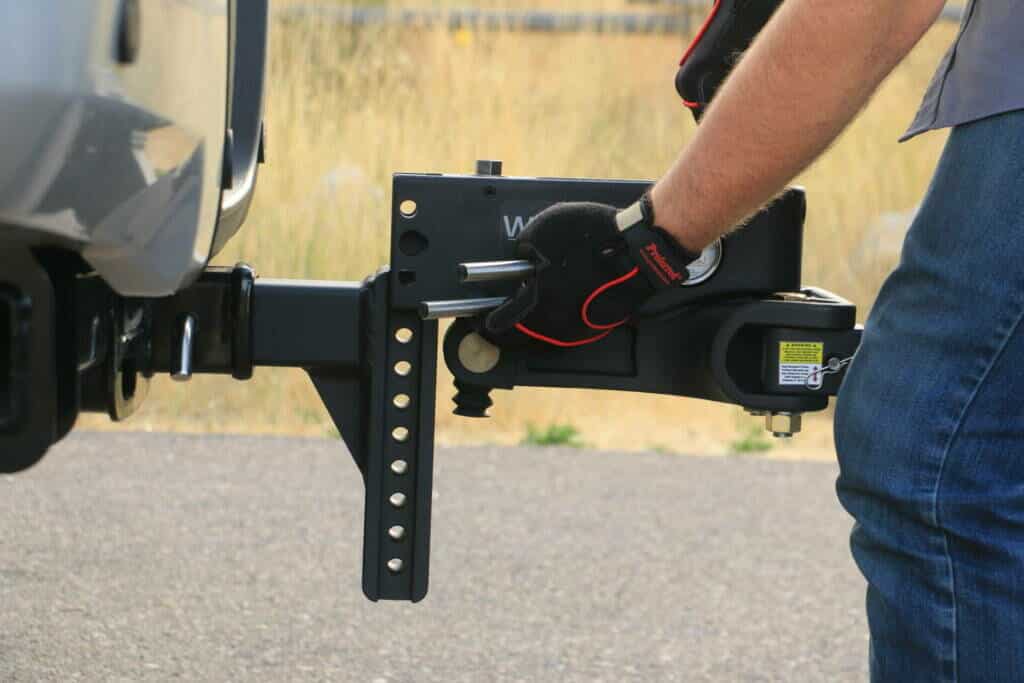
- Slide the Head Assembly onto the Draw Bar and insert the Lock Plate Key Assembly (dual pins) into the correct holes to set the ball height. Be sure to push the Lock Plate Key Assembly all the way in – until the pins are fully inserted and the lock tab is engaged. To check this, try and pull out on the Key Lock Assembly, making sure that the Lock Tab is secure before towing. Here’s a short clip on how to do this.
Pro Tip: For future reference, save your height set-up onto the DTW tool on your Weigh Safe App. Input both of your drawbar positions (rise or drop) and how many empty holes are visible above the top of the Head Assembly in the Draw Bar.
Step #5: Install Trailer Brackets
Finding Trailer Bracket Location:
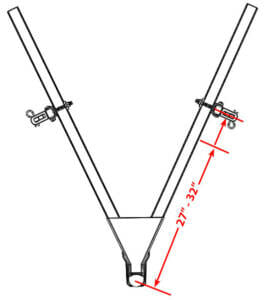
- Locate the Center-line of where the Trailer Brackets need to be placed by measuring from the center of the trailer coupler – along the trailer frame – and putting a mark at 32 inches on both sides. Securing the trailer brackets at the 32 inch mark will put the least amount of stress on your trailer and hitch, providing the safest tow.
- Ensure that there are no brake lines, electrical wiring, or gas lines in the way of the Trailer Brackets. If something is obstructing the placement of the Trailer Brackets, you’ll want to reroute it to prevent any damage caused by the Trailer Brackets.
- Pro Trip: In the rare case scenario where there may be a frame member, propane mount, or battery mount in the way that can’t be moved – the Trailer Brackets can be moved forward, closer to the trailer coupler, to a minimum distance of 27 inches from the trailer coupler center.
Installing Trailer Brackets Onto Trailer Frame:
- Place one of the Carriage Bolts through the top hole in the Outside C Channel Bracket and align it with the top hole of the inside Flat Bracket. Slide on the Lock Washer and then thread on the Nut a couple of turns.
- Slip the brackets over the trailer frame and line up the top bolt with the center mark line for the previous step. Tighten the Nut until hand tight.
- Insert the second Carriage Bolt in the highest open hole in the Outside C Channel Bracket under the trailer frame, and press it through the corresponding hole on the inside Flat Bracket. Slide one the Lock Washer and thread on the Nut until hand tight. There should not be a gap between the top and bottom carriage bolts and the trailer frame. If there is a gap larger than a ½ inch, it can cause damage to the trailer brackets.
- Use the socket end of the Lift Arm, or socket wrench, and tighten the nuts. Be sure to alternate between the top and bottom nuts while tightening.
Setting Height of Spring Arm Platform:
- Slide the Spring Arm Platform into the Outside C Channel Bracket and set it to the correct height. The ideal height for the flat portion of the platform is 9 inches below the top of the trailer coupler. This will allow the spring arms to be horizontal with a trailer frame which will create the smoothest and safest tow.
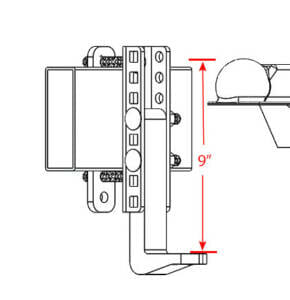
- Once you have the Spring Arm Platform set to the correct height, insert two Carriage Bolts into the square holes in the Outside C Channel Bracket that line up with the corresponding holes in the Spring Arm Platform. Press them all the way in and slide on a Lock Washer and thread on a nut on each bolt. Tighten to hand tight.
- Use the socket end of the Lift Arm, or socket wrench, and tighten the nuts. All trailer bracket bolts will need to be torqued to 65 ft-lb.
- Repeat these steps on the other side of the trailer frame.
- Pro Trip: In rare cases, if the lead screw on the Head Assembly bottoms out before you reach your target DTW, the Spring Arm Platform might need to be less than 9 inches.
Step #6: Assemble the Spring Arms
- Insert the Spring Arms into the Spring Arm Sockets.
- Insert the Clevis Pin into hole, from the inside, to the outside of the hitch. (This is to allow easy access for the Cotter Pin.)
- Secure the Clevis Pin with the Cotter Pin.
- Repeat these steps on the other side.
Pro Tip: Before each towing session, you’ll need to confirm that the Spring Arm Socket Bolts are torqued to a minimum of 150 ft-lb, using a torque wrench. Warning: Because the Spring Arm Sockets are being compressed by Socket Bolts in the Head Assembly, they are hard to twist. This is to help with sway control. Do not pound directly on the Spring Arm Sockets. This could cause them to chip or crack. Use the Spring Arms as a lever to move the compressed Spring Arm Sockets.
Step #7: Determine your target DTW
- Start by backing up your truck to the trailer and then lowering the trailer coupler onto the Tow Ball. Lock the coupler and insert a safety pin/lock for a secure attachment.
- Open the DTW Calculator in the Weigh Safe App.
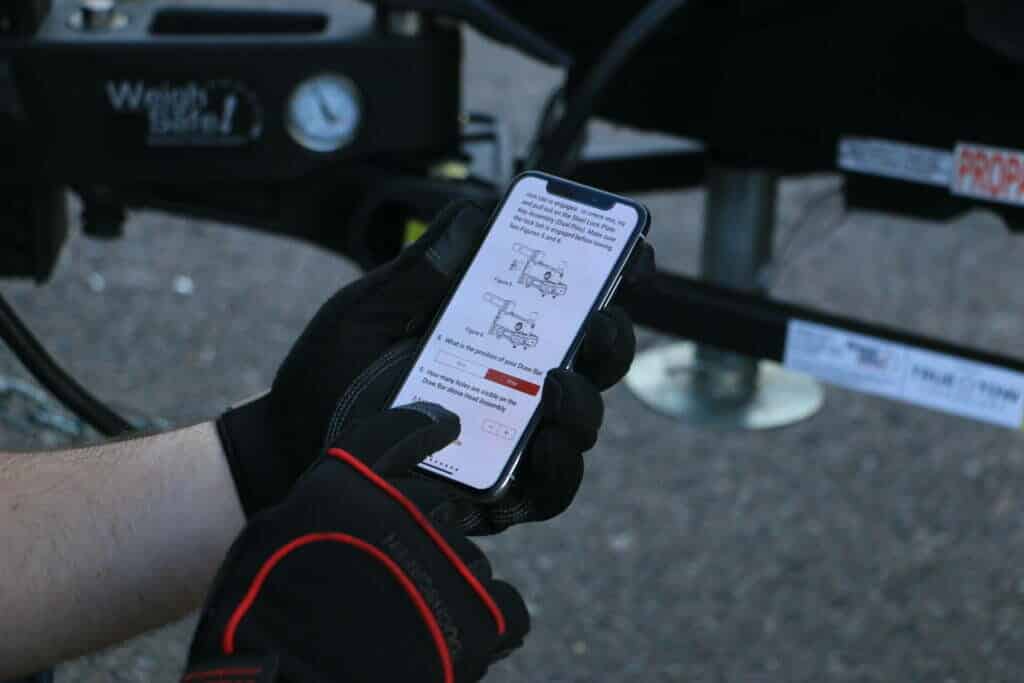
- Begin to input the following weights and measurements:
Gross Trailer Weight (GTW)
- This is the weight of your trailer, plus the weight of the cargo you’ve loaded onto it.
Tongue Weight (TW)
-
- This is the downward force that the tongue of your trailer is exerting on your hitch.
- To measure your tongue weight, continue retracting the trailer tongue jack until it raises completely off the ground.
- Be sure to measure your trailer’s tongue weight without the Spring Arm attachment.
- Your target tongue weight is 10% – 15% of your GTW.
- Aim to position your cargo so that your trailer’s tongue gauge is reading within this range. Generally, this is achieved by putting about 60% of your cargo’s mass ahead of the trailer axle and 40% behind.
Measurements: Swing out one of the Spring Arms until the bar is perpendicular to the Head Assembly. This arm will be used as a base point to take your measurements. Always use the side of the Spring Arm closest to your truck because the inside face is in-line with the Tow Ball.
- Truck Axle to Tow Ball
-
- In inches, measure in a straight line from your truck’s Rear Axle Center-line to the Tow Ball (0-70” max).
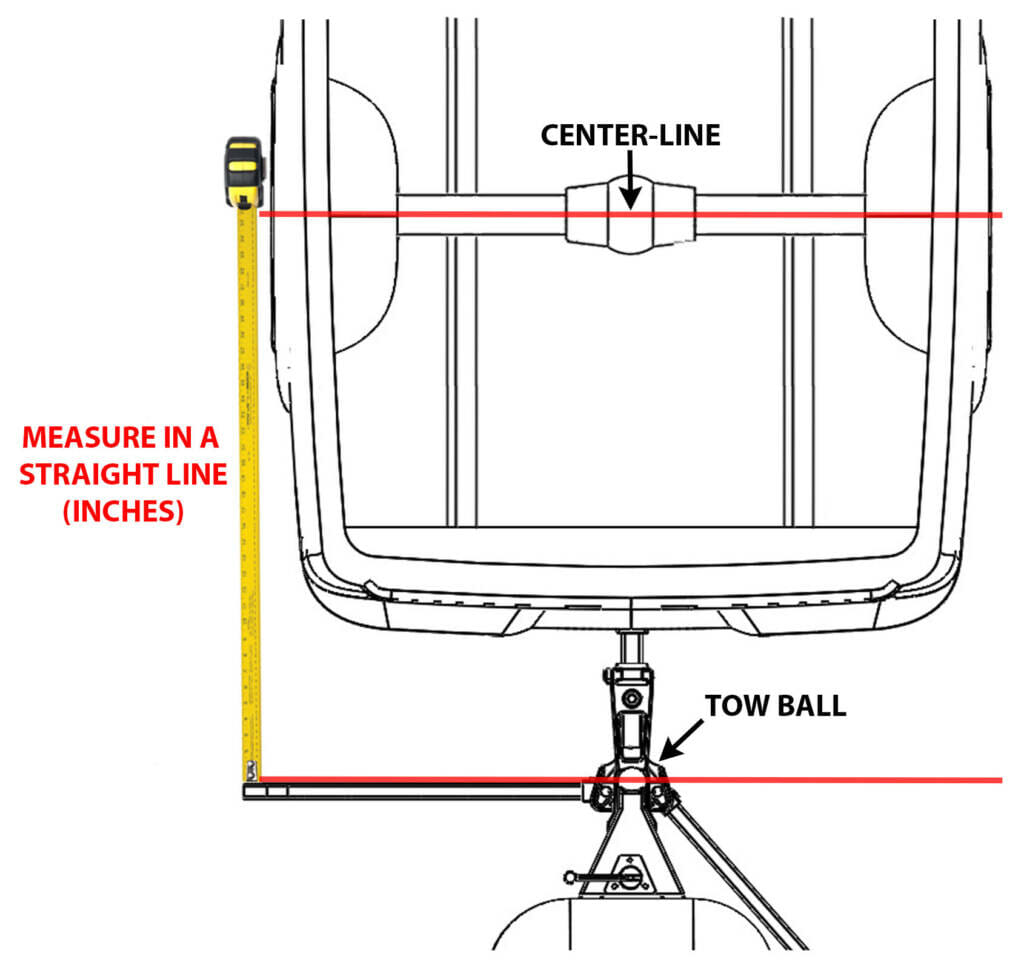
- Tow Ball to Trailer Brackets
-
- In inches, measure in a straight line from the Tow Ball to the the center of the Trailer Brackets (24 – 32” max).
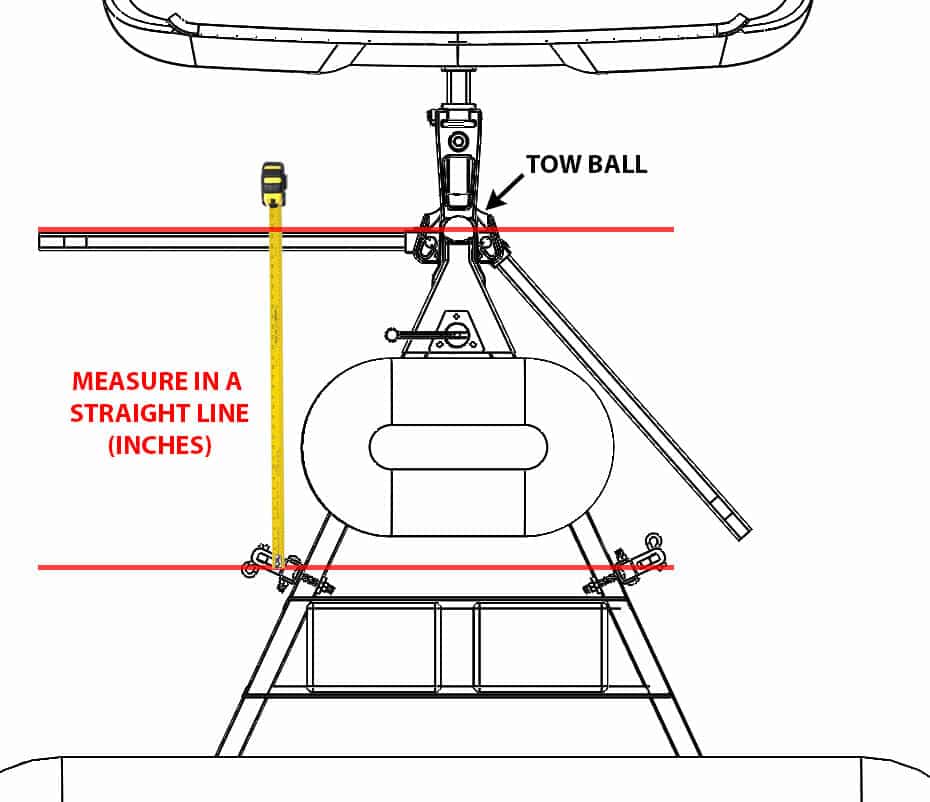
- Tow Ball to Trailer Axle(s)
-
- In inches, measure from the Center-line of your single Trailer Axle (or center between multiple axles) to the center of the Tow Ball.
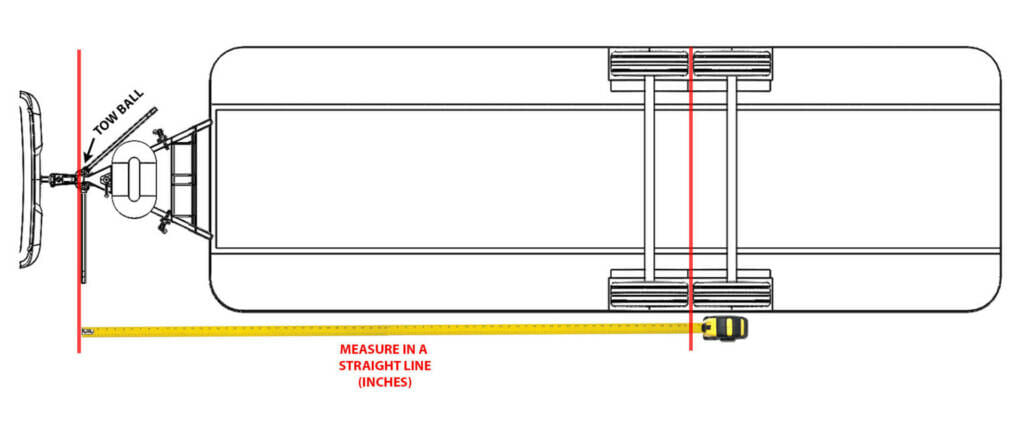
- Once you’ve inputted each weight and measurement, the DTW Calculator will populate your required DTW.
- Pro Tip: It’s important to note that your required DTW (Distributed Tongue Weight) will normally – but not always – read somewhere between 2 to 3 times your initial TW (Tongue Weight) reading.
Step #8: Connect the Spring Arms
- Slide the Spring Arms onto the Spring Arm Platforms.
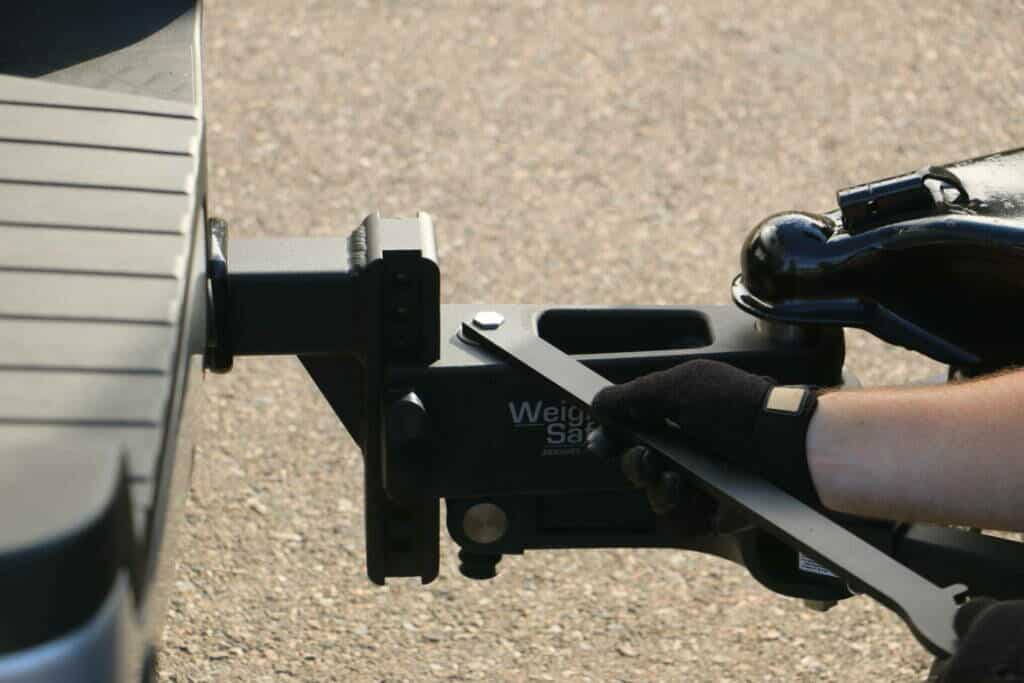
- Pro Tip: If you are towing a heavy trailer that’s causing your truck to ‘squat’ – keeping you from being able to slide on the Spring Arms onto the Spring Arm Platforms – you may have to use the trailer’s tongue jack to lift both your truck and trailer until you can lift the Spring Arms into place over the Spring Arm Platforms. If that doesn’t work, you may need to use the Lift Arm.
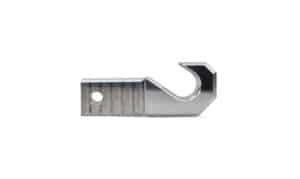
- Use the L-fingers and the L-finger pins to secure the Spring Arms onto the Spring Arm Platforms.
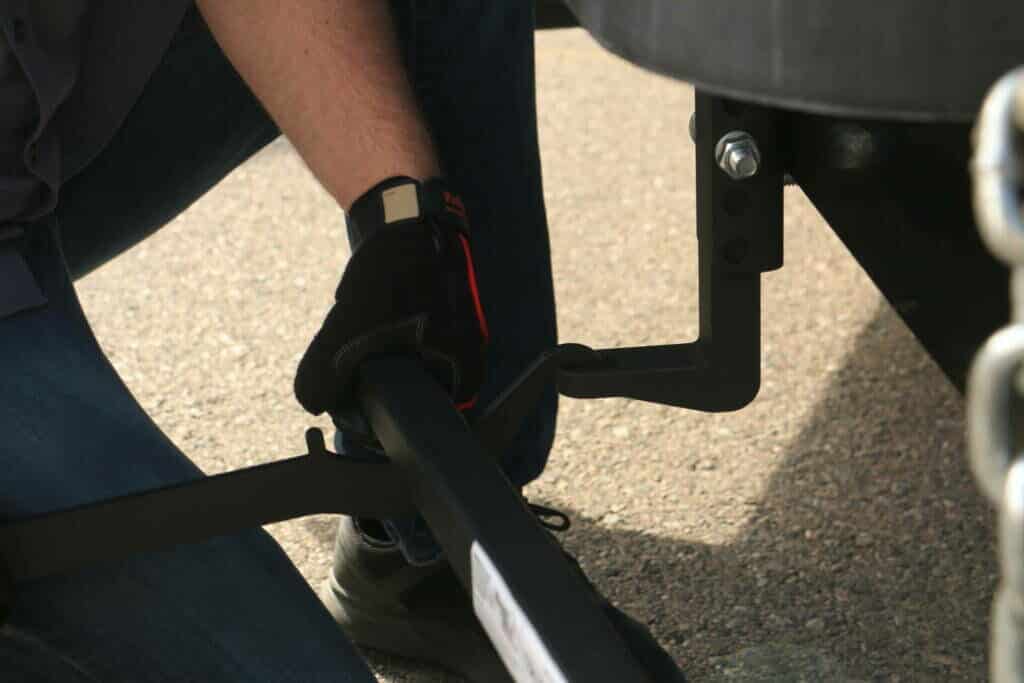
Step #9: Distribute Your Towing System
- Use the included Lift Arm (or a socket wrench, or a cross wrench) to tighten or loosen the lead screw until your tongue weight gauge reaches the required DTW.
- Turning it clockwise increases TW, and turning it counterclockwise decreases TW.
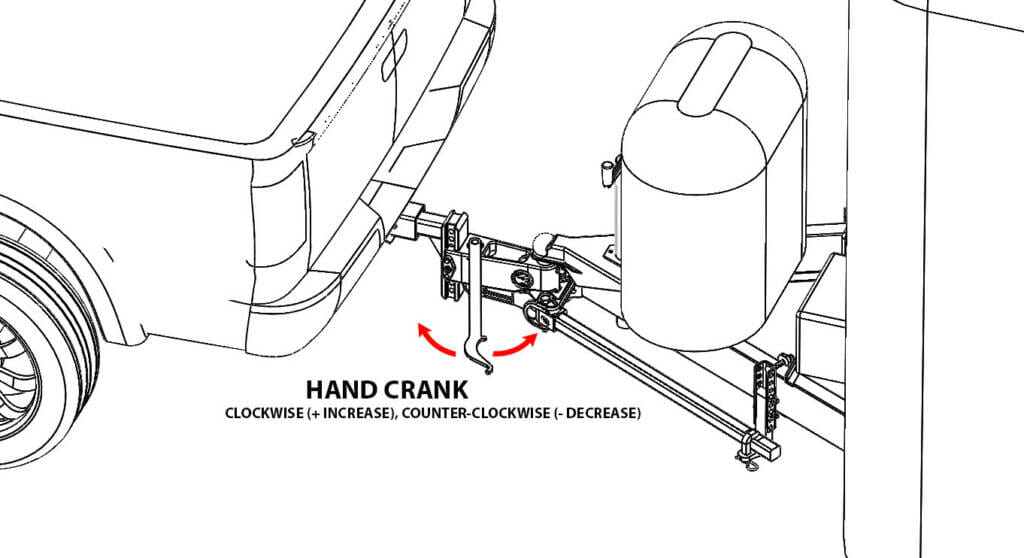
Benefits & Features of the True Tow Weight Distribution Hitch
Before You Hit the Road
Safe towing means getting to know your equipment and understanding how to operate and maintain it. Here’s a helpful checklist to go over each time you hit the road:
Towing Trip Checklist:
- Check your truck and trailer tires.
-
- Your truck tires may require higher pressure for towing, as recommended in the owner’s manual.
-
- Your trailer tires may have dry rot or cracking, especially, if your trailer has been stored outside and/or hasn’t been used for a season.
-
- Don’t forget to check the wheel lug nuts on your trailer and truck are tightened to the specified torque.
- Check your oil, fluids, and brakes. Towing puts additional stress on your truck. So before heading out on a towing road trip, be sure your truck has:
-
- had a recent oil and filter change
-
- brake pads with plenty of life remaining
-
- its engine coolant filled to the proper level in the reservoir
-
- plenty of transmission fluid
If your trailer has brakes, it’s also a good idea to have those checked, as well, and to keep the wheel bearings greased.
- Take a spare tire kit for your trailer. Make sure you have at least one spare tire for your trailer. You’ll also want a lug nut wrench specific to your trailer’s wheels, as well as a jack that will work properly with your trailer.
- Cross your trailer’s safety chains. Don’t just run them straight. Crossed chains are meant to form a ‘cradle’. If the hitch was ever to fail, the tongue of the trailer would fall down into the crossed chains, rather than digging into the pavement. The chains should have enough slack to permit sharp turns, but not drag on the road.
- Check trailer lights. Inspect the wires by hand; they should be loose enough to permit turns without getting disconnected, but tight enough that they won’t touch the road. Be sure the trailer’s running lights, brake lights, turn signals, and hazard lights are all working properly.
- Verify hitch clearance. Measure from the lowest point of your hitch to the ground – it should be no less than 11 inches.
- Consider towing mirrors. If your trailer is wider than your truck, look into getting wide aftermarket tow mirrors to help you see your trailer’s blind spots while driving and to aid rear visibility when backing up.
- Plan ahead for fuel stops. You’ll generally use more fuel while towing, and stopping at a small, remote gas station is not so easy with a large truck and trailer.
- Use wheel chocks. When unhooking the trailer from your truck, place wheel chocks (sturdy, wedge-shaped blocks) in front of and behind the trailer’s tires to ensure the trailer doesn’t roll away when you release the hitch.
Using Safe Driving Techniques
In many cases, your trailer will weigh more than your truck. All that extra weight behind the truck will have a huge impact on the truck’s driving ability. You’ll need to learn new driving techniques to ensure safety on the road while towing: Safe Driving Techniques For Towing:
- Allow for longer stopping distances. Be more attentive to vehicles stopping suddenly ahead of you when towing, and begin braking sooner than if you weren’t towing.
- Drive in the right lane on highways as much as possible. This will make it easier for you to get over to the shoulder if ever you need extra stopping room or happen to have a tire blowout.
- Don’t ride your truck’s brakes on long downhills. Shift the truck’s transmission to a lower gear to help slow the vehicle and take some strain off of the brakes. Applying the brakes at intervals to keep the speed in check (as opposed to constant application of the brake pedal) will help keep the brakes from overheating.
- Adjust trailer brakes according to load. For example, if your trailer is equipped with brakes, you’ll want them set to use a lot of force when towing a heavy load, but when the trailer is empty, the trailer’s brakes need to be readjusted for that lighter weight, so the trailer’s tires aren’t locking up and skidding.
- Consider Height: trailers can be much taller than the truck, so keep clearances in mind when pulling into gas stations or low bridge situations
- Take constant care to make wider turns at curves and corners. The trailer tires are more likely to hit or ride up over curbs.
- Use a spotter when backing up. Have someone outside at the rear of the trailer while backing up whenever possible. Even wide tow mirrors can’t provide all the visibility you may need, particularly in situations where there are other vehicles, objects, or people in close proximity.
- Check your route ahead of time. Some roads don’t allow trailers on them, and certain roads also have weight, height, and width limits. Plan your route ahead of time to avoid the hassle of having to backtrack to find roads that allow your rig.
After Your Trip: Steps to Disconnecting Your Weight Distribution Hitch
- Pull your trailer into the place you want it parked; most effectively done on a flat surface.
- Set the parking brake and put stops under the wheels of the trailer.
- Unhook the electrical cable, chains, and breakaway cable from your truck.
- Raise your trailer tongue jack until it starts to raise both your trailer and truck. Continue to lift until the weight is lifted off the ends of the Spring Arms, allowing you to easily pull off the Spring Arms form the Spring Arm Platform.
- Remove L-Finger pins and L-Fingers.
- Slide the Spring Arms out and away from the trailer frame to clear the Trailer Brackets when you lower the trailer tongue jack.
- Lower the trailer tongue jack until the trailer tongue is again resting on the hitch (showing some tongue weight) and you can unhook the trailer coupler latch.
- Use the trailer tongue jack to lift the trailer off the Tow Ball and pull your truck away from the trailer.
- Unhook the Spring Arms form the Head Assembly and remove the Head Assembly from the Draw Bar.
- Store you True Tow Weight Distribution Hitch in a safe and secure location that is protected from weather conditions.
Conclusion
Having superior driving control over your truck and trailer while towing, is essential. Adhere to these weight distribution guidelines for a safer, smoother ride, and complete towing peace of mind. Looking for more support and tips on towing?? Browse our how-to videos, or feel free to contact us with any of your questions. We’re here to help!
